
 I know, I promised German posts and I am very eager to start but there are some technical hurdles that I need to tackle first. I am on it, just you wait and see. But let’s talk cake! It was a friends 30th birthday and I offered to bring cake for her party. As I know she does not like Fondant at all and loves chocolate, I was looking for a pretty but not to posh design with chocolate, that fits a garden party with kids. I’ve seen this Kitkat cake many times before on blogs and Pinterest and thought it would make a brilliant fit. But just plain cake with decoration was not enough as a real birthday present. So I decided to lift it up a little with hiding a message in the cake. Also a thing that I have seen before, liked the idea a lot but never tried myself. I am always suspicious with trying new stuff for special occasions as I had bad luck with that in the past, so I decided to do a test cake. The test cake results were not as good as I hoped them to be but helped me figure what to do different on the real cake. I bought another set of cutters that was larger and therefore better visible in the cake slice (and to prevent floating numbers as happened in the test cake) and added more baking time for the large cake (as the test cake was slightly underdone in the center).
I must say, the hardest part was the wait. You can’t come to a party with an already cut cake, especially when it is the present. So I had to wait until the birthday girl cut the cake to find out if my plan worked out and the numbers remained in place. You can imagine how happy I was when the first 2 slices she pulled out were absolutely PERFECT with a clear number in the center. Well I jumped through the garden like a small kid on Christmas day on a sugar rush… All the guests were amazed by the filling and only 1 person guessed what kind of magic is needed to create the effect. The magic unveiled…
And here is how:
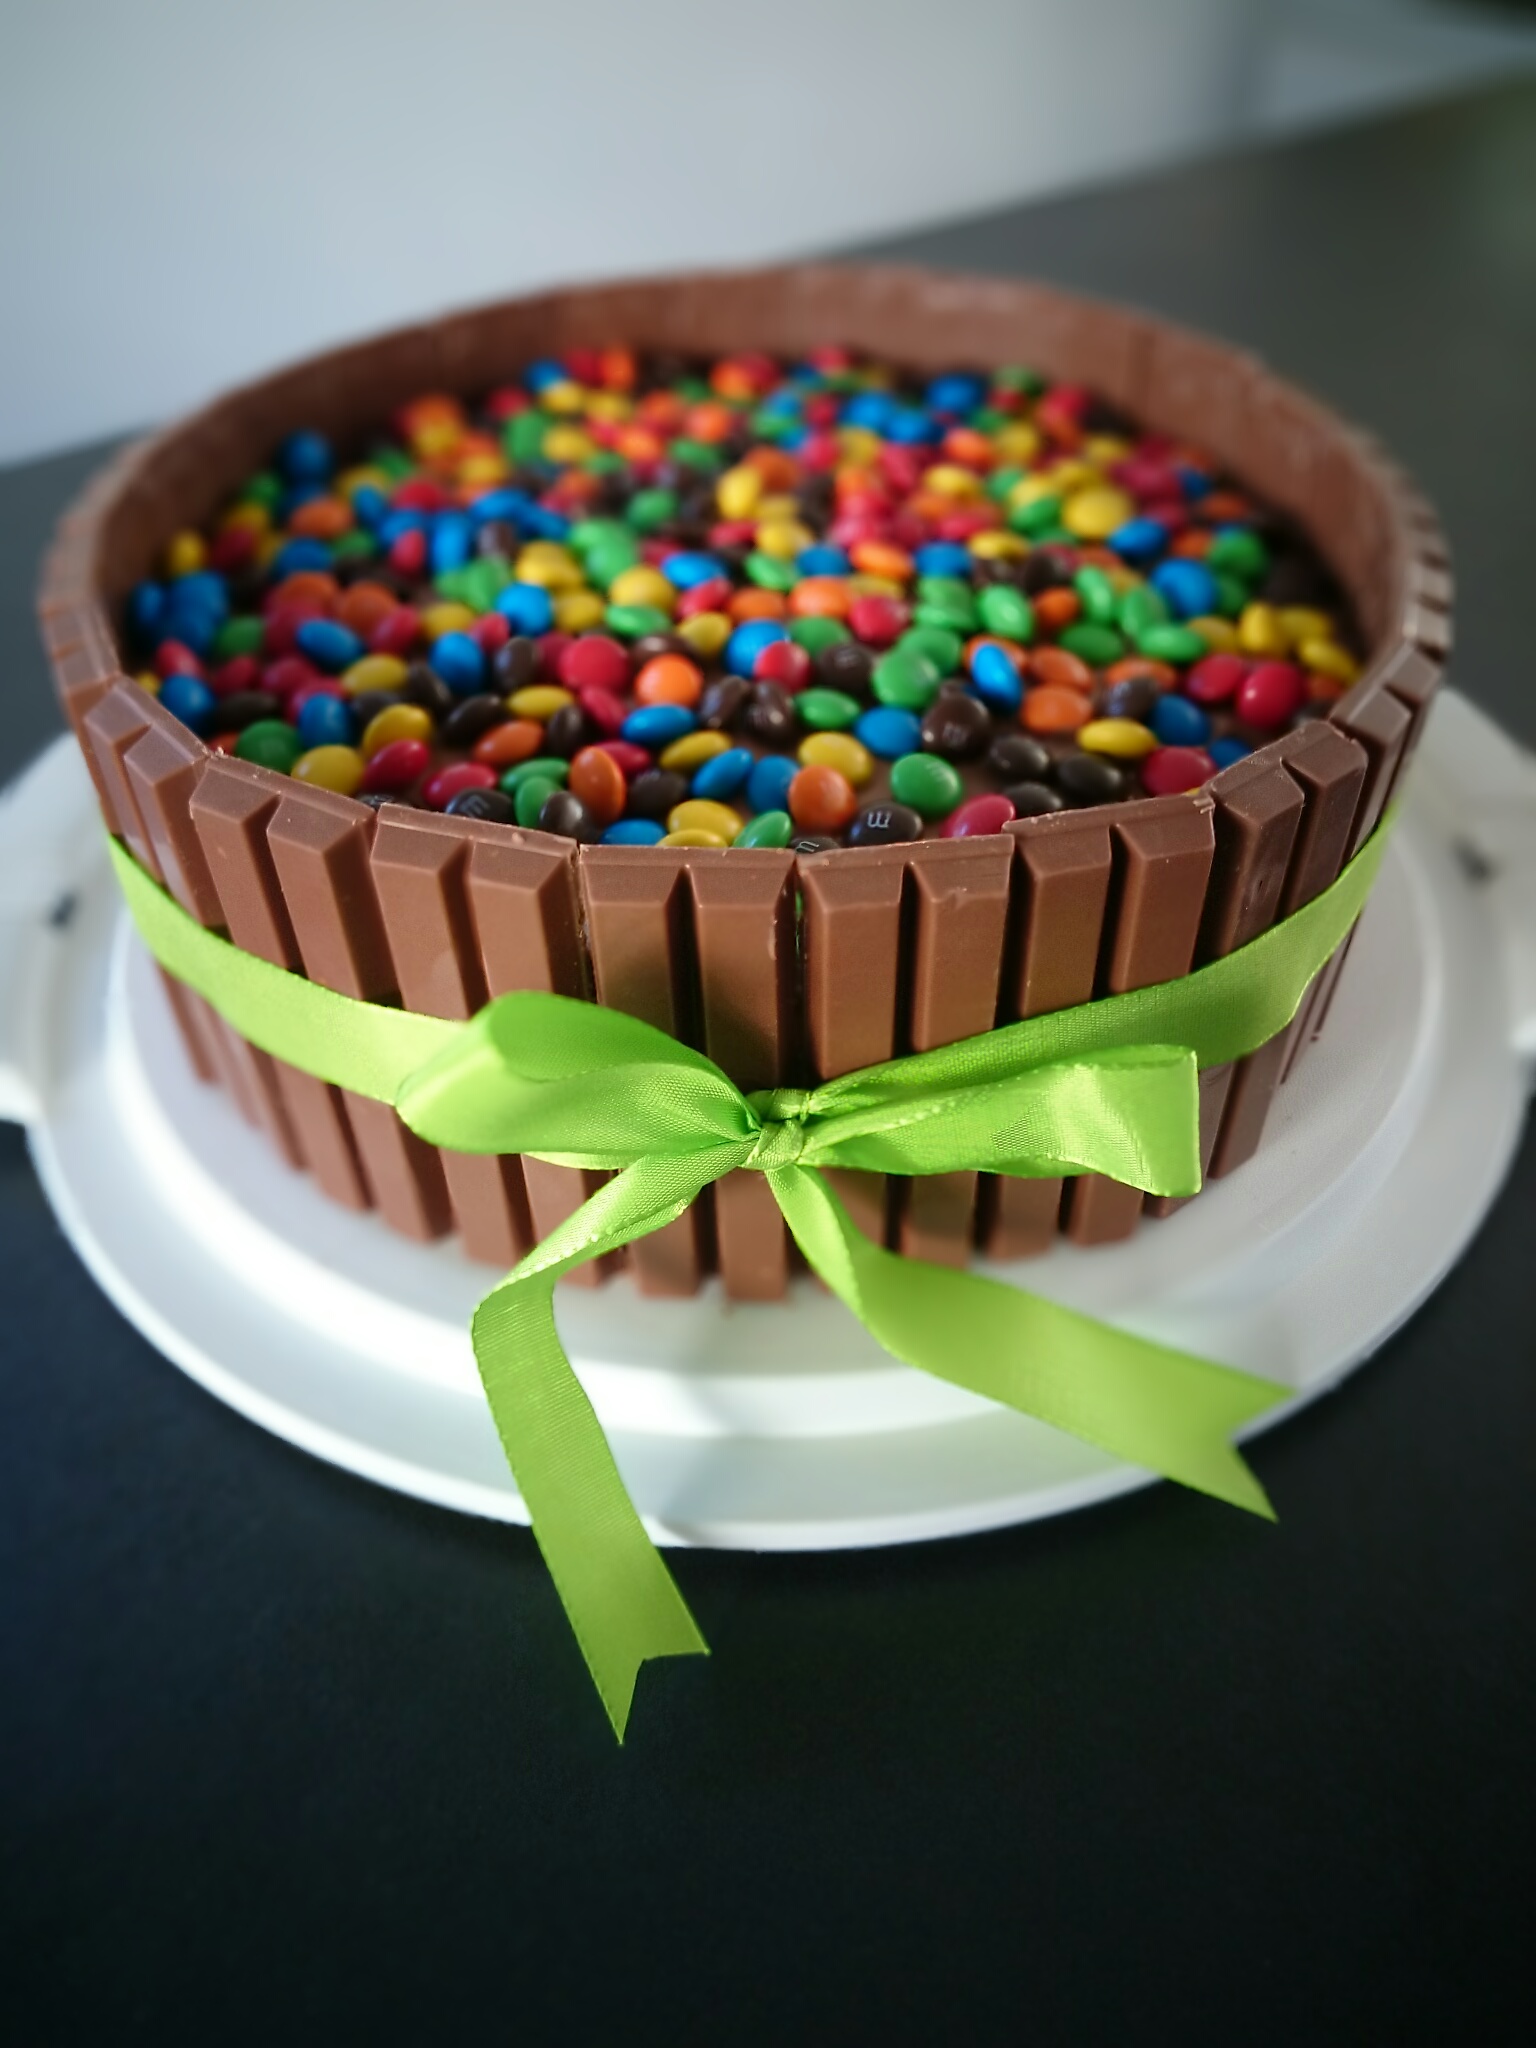
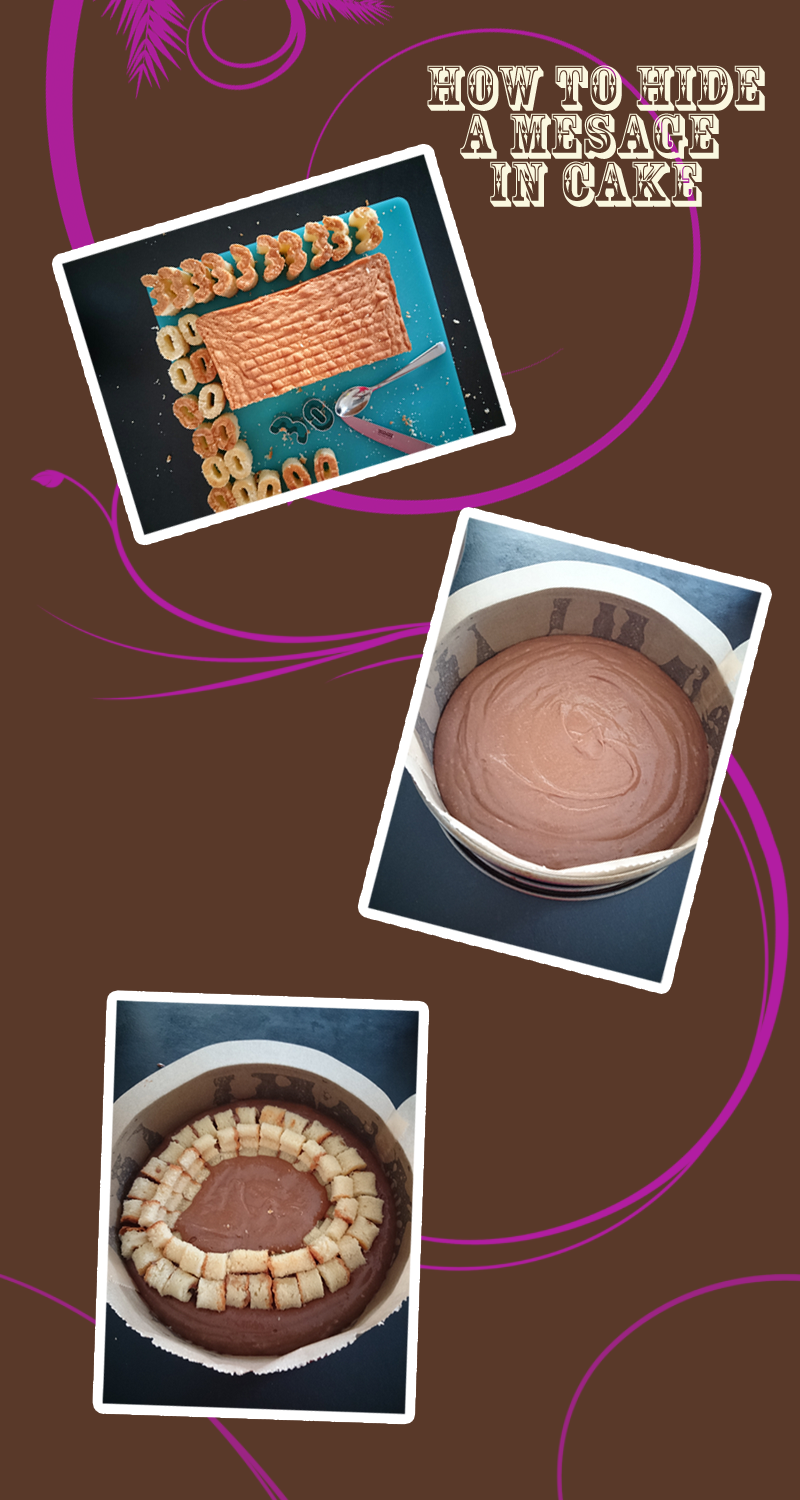 Prepare a moist cake in the desired flavour or colour to cut out your hidden message. I made a 9″ square moist vanilla cake and cut out a lot of 3s and 0s. If you want to hide your message in a round tin, you need enough cut-outs to fit the complete inner circle of your desired placement in the tin. I used a 26 cm round tin and cut out my numbers of half the 9″ cake (though I had leftovers that I turned into cakepops). Next whip up your cake and transfer some of it into your lined tin to form a base. This will ensure that your message is placed in the middle of the cake. Then put in your message in a circle, as close together as possible. I had to cut my letters in half because the slices of cake were too thick to bend them appropriately to deliver the best results. The closer the cut-outs are together, the more accurate the message looks in every slice of cake. If you have numbers or letters that have a hole (like the 0), spat a little of the cake mixture in the hole. Don’t fill completely as your cake will rise and might burst your letter.Then carefully fill around your cut-outs. By carefully I mean really carefully – I ruined my test cake with my impatience and ended up with floating letters. So start with spooning a small amount of batter around them from all sides and top them off with batter carefully. Then transfer to the oven and keep an eye on the time. As my cake was higher than usual with the message-filling it took about 15-20 minutes longer in the oven. Once it comes out, let it cool completely and resist the urge to look inside. Decorate as you desire (I went for Chocolate Buttercream, KitKats and m&m’s and wrapped around a green bow)
And taaaa-daaaaa: This is what it looked like in almost every slice: Magical!
